
Ever wondered how those snappy animated videos you scroll past on Instagram or YouTube Shorts actually come together? It’s not just a case of sketching a few cartoons and hoping for the best. Behind every slick animated clip is a thoughtful, layered process that takes an idea from a rough concept to a polished final cut. And if you’re thinking about diving into animation yourself—or just curious about how it all works—you’re in the right place.
These short videos might only last a few seconds, but they’re the result of hours—sometimes days—of collaboration, creativity, and technical skill. From brainstorming and scripting, to sketching and designing, to animating, editing and exporting—each stage plays a vital role in the final outcome.
Whether you’re a solo creator, part of a marketing team, or someone looking to level up your content game, understanding this process can make a world of difference. It’s not just about making things move—it’s about telling a story that captures attention, builds connection, and leaves a lasting impression.
Let’s take a look at how an animated video comes to life, step by step.
1. It All Starts with the Idea
Every animation begins with a purpose. Maybe it’s to sell a product, explain a concept, entertain your audience, or tell a story. But whatever the goal, the first step is always the idea.
This is where you define your message. What do you want people to feel, understand, or do after watching your video? Keep this part simple and sharp. If you can’t explain your concept in one or two sentences, it’s probably not quite there yet.
It helps to jot down your main objective and a few bullet points that support it. This early clarity makes decision-making so much easier as the project moves forward. Don’t underestimate this stage—strong ideas are the backbone of every successful animation.
Once you’ve nailed down the core idea, you start building around it—tone of voice, audience targeting, and style choices all come into play here. Are you going for something bold and energetic, or slow and thoughtful? These decisions will shape every step that follows.

Think about the story arc early on—will your video be structured as a problem-solution format, a walkthrough, or a narrative with characters? Knowing how the idea will unfold helps set realistic expectations for length and complexity. It’s also worth considering the emotional hook: what will make someone care enough to watch until the end? A great animation doesn’t just inform—it connects. Start there.
2. Writing the Script
Think of your script as the blueprint for your animation. It’s not just what the narrator says; it’s the rhythm, the timing, the way information unfolds. A good script sets the pace and keeps viewers hooked.
It also needs to be tight. Every second counts in short-form animation, and long-winded narration just won’t cut it. Whether it’s 30 seconds or three minutes, the script should deliver the message clearly and with purpose.
Good scripts also leave space for visuals to shine. Sometimes a powerful image or clever animation can say more than a full sentence. Always keep in mind how words and visuals will work together—not against each other.
If there’s voiceover involved, write as you speak. Avoid overcomplicating the language—your goal is clarity, not a poetry award. And if the video’s relying on visuals to do the heavy lifting, let the animation do the talking. Sometimes silence (or just music) is more powerful than a wall of words.
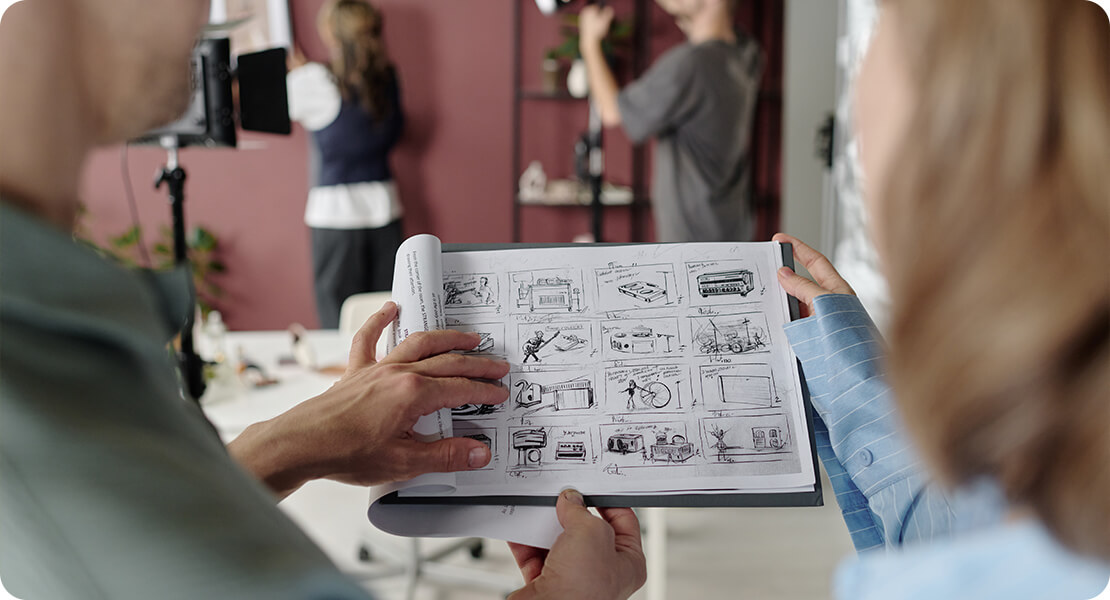
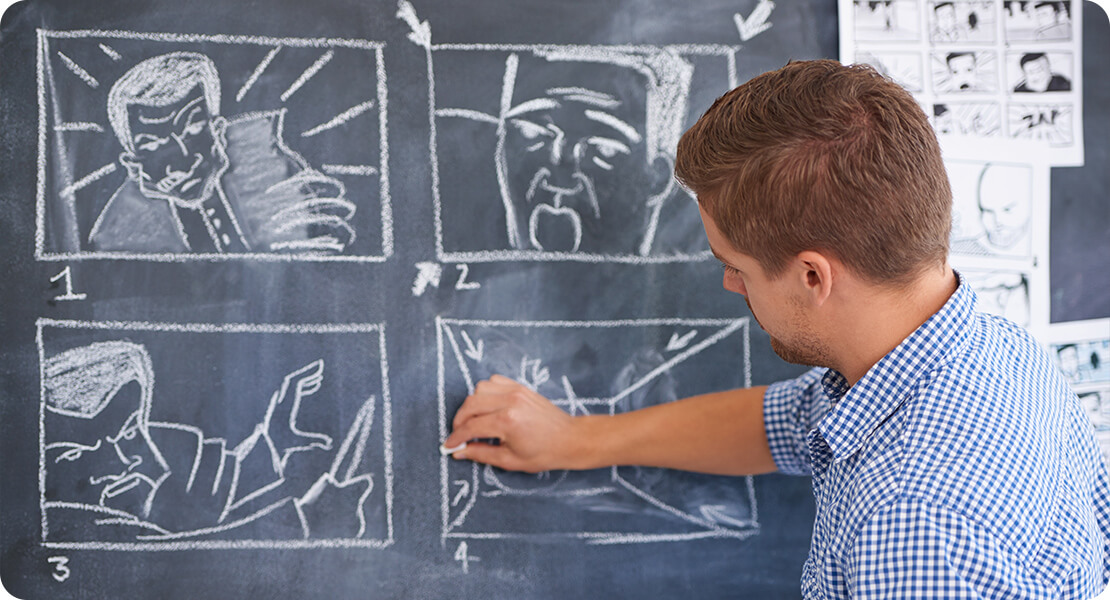
3. Crafting the Storyboard
Here’s where your idea starts to take shape visually. A storyboard is like a comic strip version of your animation. Each frame represents a key moment or visual transition in the final video.
Don’t worry—your drawings don’t have to be masterpieces. The aim is to map out what’s happening on screen, when it’s happening, and how it ties into the script.
You’ll figure out where the characters appear, how the camera moves, what scenes follow which, and when the text or visual effects kick in. It’s basically your visual game plan, and trust me—it saves loads of time down the line. Making changes at this stage is a lot easier (and cheaper) than doing it once the animation’s already built.
It also helps to include notes on sound effects, music cues, and on-screen text where needed. Even simple arrows or movement indicators go a long way in helping others visualise the final result. Think of your storyboard as the skeleton—everything else builds on top of it.
Storyboarding also gives teams clarity. Designers, animators, voice actors and editors can all work from the same reference, which avoids confusion and keeps everyone aligned. A well-prepared storyboard can even help spot problems early on, like pacing issues or unclear visual transitions.
Additionally, many professionals use animatics—basic animated storyboards with rough timing and audio—to get a feel for flow before investing time in full production. It’s a rough cut of the animation, but one that can save time, money, and a lot of frustration later. At this stage, the priority is structure—not perfection. Once this foundation is strong, the rest falls into place much more smoothly.
4. Design and Illustration
Once the storyboard’s signed off, it’s time to start designing the actual elements that’ll appear in your animation. This includes backgrounds, characters, icons, and text.
Now’s the moment to lock in your visual style. Are you going for flat design? 3D? Hand-drawn? Retro pixel art? Whatever it is, consistency is key. Colours, proportions, and fonts should all match the tone you set earlier.
This stage is where your animation starts to look real—even though it doesn’t move yet. Think of it like dressing the set before filming a live-action scene. The mood, aesthetic, and visual branding are all nailed down here.
It’s also where branding becomes especially important. If you’re creating content for a company or product, now’s the time to make sure the visuals align with brand guidelines—using correct logos, colour palettes, typography, and even illustration style. This ensures your video feels cohesive and on-brand from the first frame to the last.
Character design plays a big role too. Expressions, wardrobe, posture, and style choices all feed into how your characters are perceived and how well they support the narrative. Even in abstract or minimalist styles, the visual cues still carry emotional weight.

Good illustration also boosts accessibility. Clean, clear visuals make your message more digestible, especially when paired with animated motion. And remember—once these design assets are complete, they can often be reused across future videos or even in marketing materials, making this stage not only creatively fulfilling, but cost-effective too.
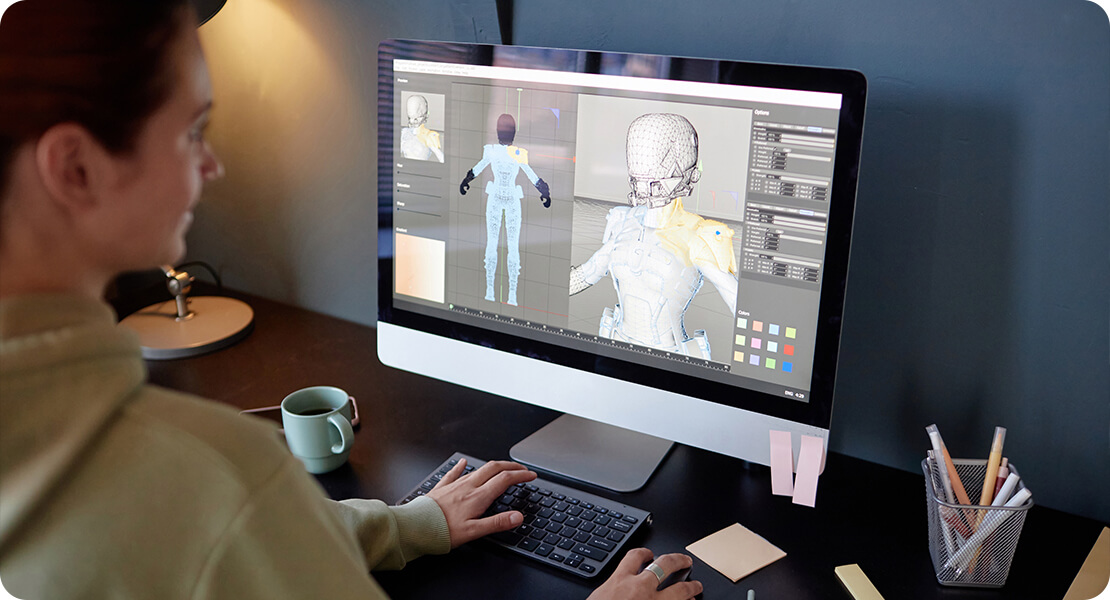
5. Animation: Bringing It All to Life
Now for the magic bit—animation. This is where the static artwork starts to move. Characters blink, bounce, and walk. Text flies in, icons spin, scenes transition smoothly. It’s when your vision finally starts breathing.
Depending on your style and complexity, this might involve frame-by-frame drawing, rigging characters with bones (in tools like After Effects or Toon Boom), or using keyframe animation to control movement and timing.
Every single motion is deliberate. Animators spend hours fine-tuning the timing—known as “animation timing”—to make things feel smooth, punchy, or dramatic. Even subtle things like easing (how movement accelerates or slows down) can make a big difference to how polished the final cut feels.
Some animations use techniques like squash and stretch to add personality and life to characters. Others rely on more realistic motion to suit a sophisticated, corporate tone. Whatever the style, the goal is the same: create motion that feels intentional and emotionally resonant.
Timing also affects the pacing of the message. If a visual appears too quickly, it might be missed; too slowly, and the viewer may lose interest. This is where animators’ instincts and experience really come into play.
In terms of animation techniques, principles like anticipation, follow-through, and secondary action can breathe realism into even the most stylised motion. A character pausing before a leap, or hair swaying subtly after a turn, adds believability and weight.
And don’t forget about sound design—it’s often added during or just after the animation phase. Sound effects, background music, and voiceover can transform your visuals from good to brilliant. Syncing visual beats with audio cues can elevate the rhythm and impact of the animation in powerful ways. Whether it’s a subtle “whoosh” of a scene transition or the gentle click of a button press, these sounds give your visuals texture and immersion. When movement and sound work together, the result is nothing short of magic.
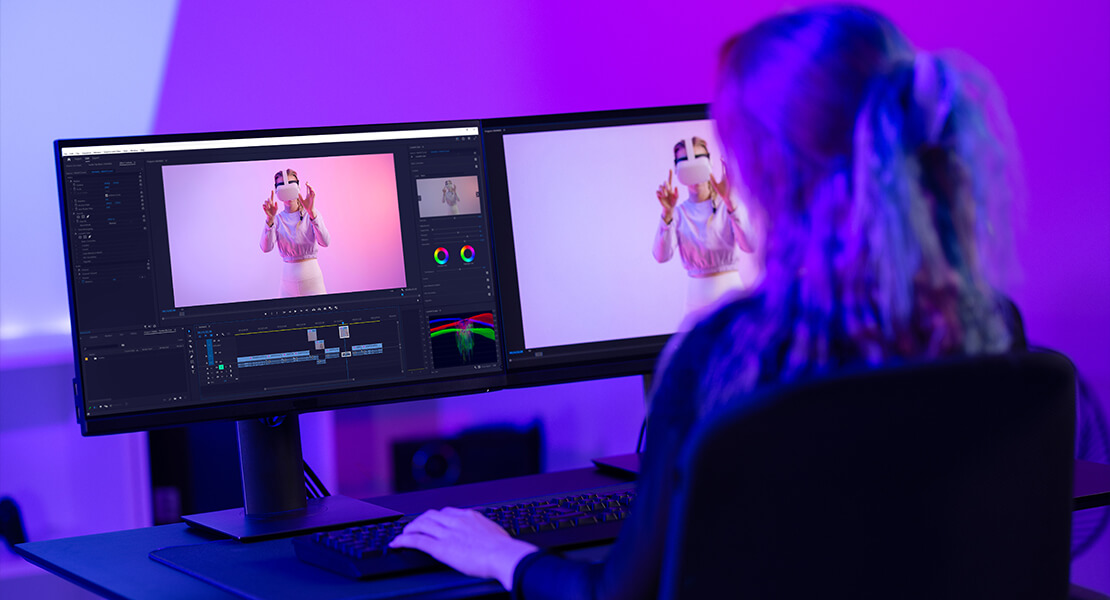
6. Editing and Refining
Once the first full cut is assembled, it’s time to step back and tweak. Is the pacing right? Do transitions feel fluid? Is there a moment that feels too rushed—or drags?
This is also the point where feedback comes in, whether from a client, a creative director, or your own team. And yes, it might sting a bit. But every comment helps polish your piece into something better.
Sometimes this means going back and changing animations, rewriting bits of the script, or redoing a voiceover. It’s all part of the process. Great animations are rarely perfect on the first try.
During this phase, it’s essential to watch the video with fresh eyes—or better yet, let it rest for a day or two before reviewing it. That distance can help you spot jarring cuts, awkward silences, or unnecessary complexity you missed while deep in production.
This stage is also where the polish comes in: refining transitions, softening the timing between scenes, adjusting volume levels, or tweaking text for better readability. It’s about smoothing rough edges and making sure every frame feels intentional and cohesive.
You might even export a draft and view it across different devices or platforms to ensure the animation holds up visually and audibly wherever it’s seen. The goal here isn’t just to complete the video—it’s to make it exceptional. With the right tweaks and a little persistence, good becomes great.
Focus on the finer details: Is the character eye movement too fast? Is there a slight lag in lip sync? Are the animations timed tightly with the voiceover or soundtrack beat? Enhancing subtle things like animation easing, colour contrast for accessibility, or the layering of ambient sound can elevate your video from decent to cinematic. The polish is where your animation gains its professional edge. Don’t rush it.
7. Exporting the Final Cut
Once everything is polished and approved, you’ll export the final video in the format needed for wherever it’s going—YouTube, Instagram, a website banner, or all of the above. Settings like frame rate, resolution, and compression matter here to keep your video looking sharp without being too heavy to load or share.
You might also export different versions—like square format for Instagram, vertical for TikTok, or horizontal for YouTube. Luckily, if your storyboard and design were built with flexibility in mind, this won’t require starting from scratch.
Before exporting, make sure you’ve double-checked spelling in text layers, logo placements, and any brand-specific elements. It’s easy to overlook the little things at this stage, but they make a big difference to how professional the final piece feels.
Also, remember that different platforms have different file requirements. Instagram might favour MP4s at 1080×1080, while YouTube allows up to 4K in 16:9. TikTok, on the other hand, loves a crisp vertical format, ideally 1080×1920. A good practice is to export in the highest quality possible, then use compression tools (like HandBrake or Media Encoder) to create optimised versions for each platform.
If your animation includes audio, ensure the levels are balanced and won’t clip or distort when played through mobile speakers. Run a final test watch on various devices—desktop, phone, tablet—to see how it holds up visually and sonically across the board.
Finally, consider exporting a short teaser or thumbnail clip to accompany your launch. These assets can work wonders on social media and email campaigns, driving clicks before anyone even sees the full thing. Think five-second GIF loops, subtle character animations for Stories, or even a cinematic slow zoom of your opening scene with a bold hook text. It’s these tiny previews that often create the biggest anticipation.
8. Launch and Share
You’re ready to hit publish. This part feels great—and if the animation’s done its job well, you’ll see the results roll in. Views, shares, engagement, conversions—it all stems from the careful creative steps you’ve just taken.
But don’t just post and vanish. Keep an eye on how it performs. What worked? What didn’t? This feedback loop will shape your next animation and help you fine-tune your process moving forward.
Start by thinking about your launch strategy. Are you timing it around a campaign, product drop, or seasonal event? Scheduling your animation to go live when your audience is most active can drastically improve visibility. Use tools like Meta Business Suite, Hootsuite, or native scheduling features to release at optimal times.
Also consider where and how you’ll promote the animation. Will it be part of a social carousel? The header of a landing page? Sent out in a newsletter? Repurposing and re-sharing across platforms ensures you get the most value out of all the work that went into it.
Analytics matter too. Track key performance indicators (KPIs) like watch time, click-through rates, and engagement metrics. These will tell you not just how many people saw your animation, but how well it held their attention.
And don’t be afraid to ask for direct feedback—comments, messages, polls. What people say (or don’t say) about your content can spark ideas and improvements you might not have considered. Launching is the end of this animation—but it’s the start of everything that comes next.
Final Thoughts
From a scribbled idea to a polished piece of content, creating an animated video is a journey—a collaborative, detailed, and creatively rich one. It’s not always quick, and it’s definitely not effortless, but when you get it right, it delivers in ways few other formats can.
Animation blends art, storytelling, and strategy in a way that makes it incredibly powerful—whether you’re explaining a tricky concept, selling a product, or simply entertaining your audience. It allows you to visualise things that don’t exist yet, simplify the complex, and bring personality to brands and ideas. That’s why it’s such a favourite across industries—from education and tech to entertainment and social media.
So the next time you see a seamless animated ad or a clever motion graphic explainer, you’ll know exactly what went into making it. And who knows? Maybe your next project starts with a doodle and ends with something millions of people love.
The best part? Once you’ve done it once, you’ll never look at content the same way again.
Interested in creating a high-impact animation for your business? Get in touch with us at Spiel for a free consult—we’d love to help bring your ideas to life.